instructions
Recipe from BBC Good Food Magazine
Ingredients
170 g ground almond flour
160 g powdered sugar
160 g granulated sugar
50 mL water
Egg whites from 4 eggs (~120 mL)

The Steps
Step 0: read this recipe beginning to end. Get out your supplies for steps.
Step 1: Prep the piping bag. Use a large round tip (or, just cut a small hole in the bag), roll the top down a bit and place it in tall beer mug so it’s ready to be filled.

Step 2: Prep baking sheets. Either line them with silicon baking sheet (I’ve never done this) or parchment paper. I need around three baking sheets for this recipe.

Step 4: Separate egg white from 4 eggs. It is best if the eggs are room temperature; use lukewarm water to quickly bring them to room temp if you forgot to take them out of the fridge hours prior. Around 120g of eggs whites are needed. Be careful separating egg whites. Any yolk will prevent the egg whites from whipping up properly. Supposedly you can use your (clean) hands to remove yolks from eggs whites efficiently, but this always goes badly for me, so I separate egg whites using the shells instead.
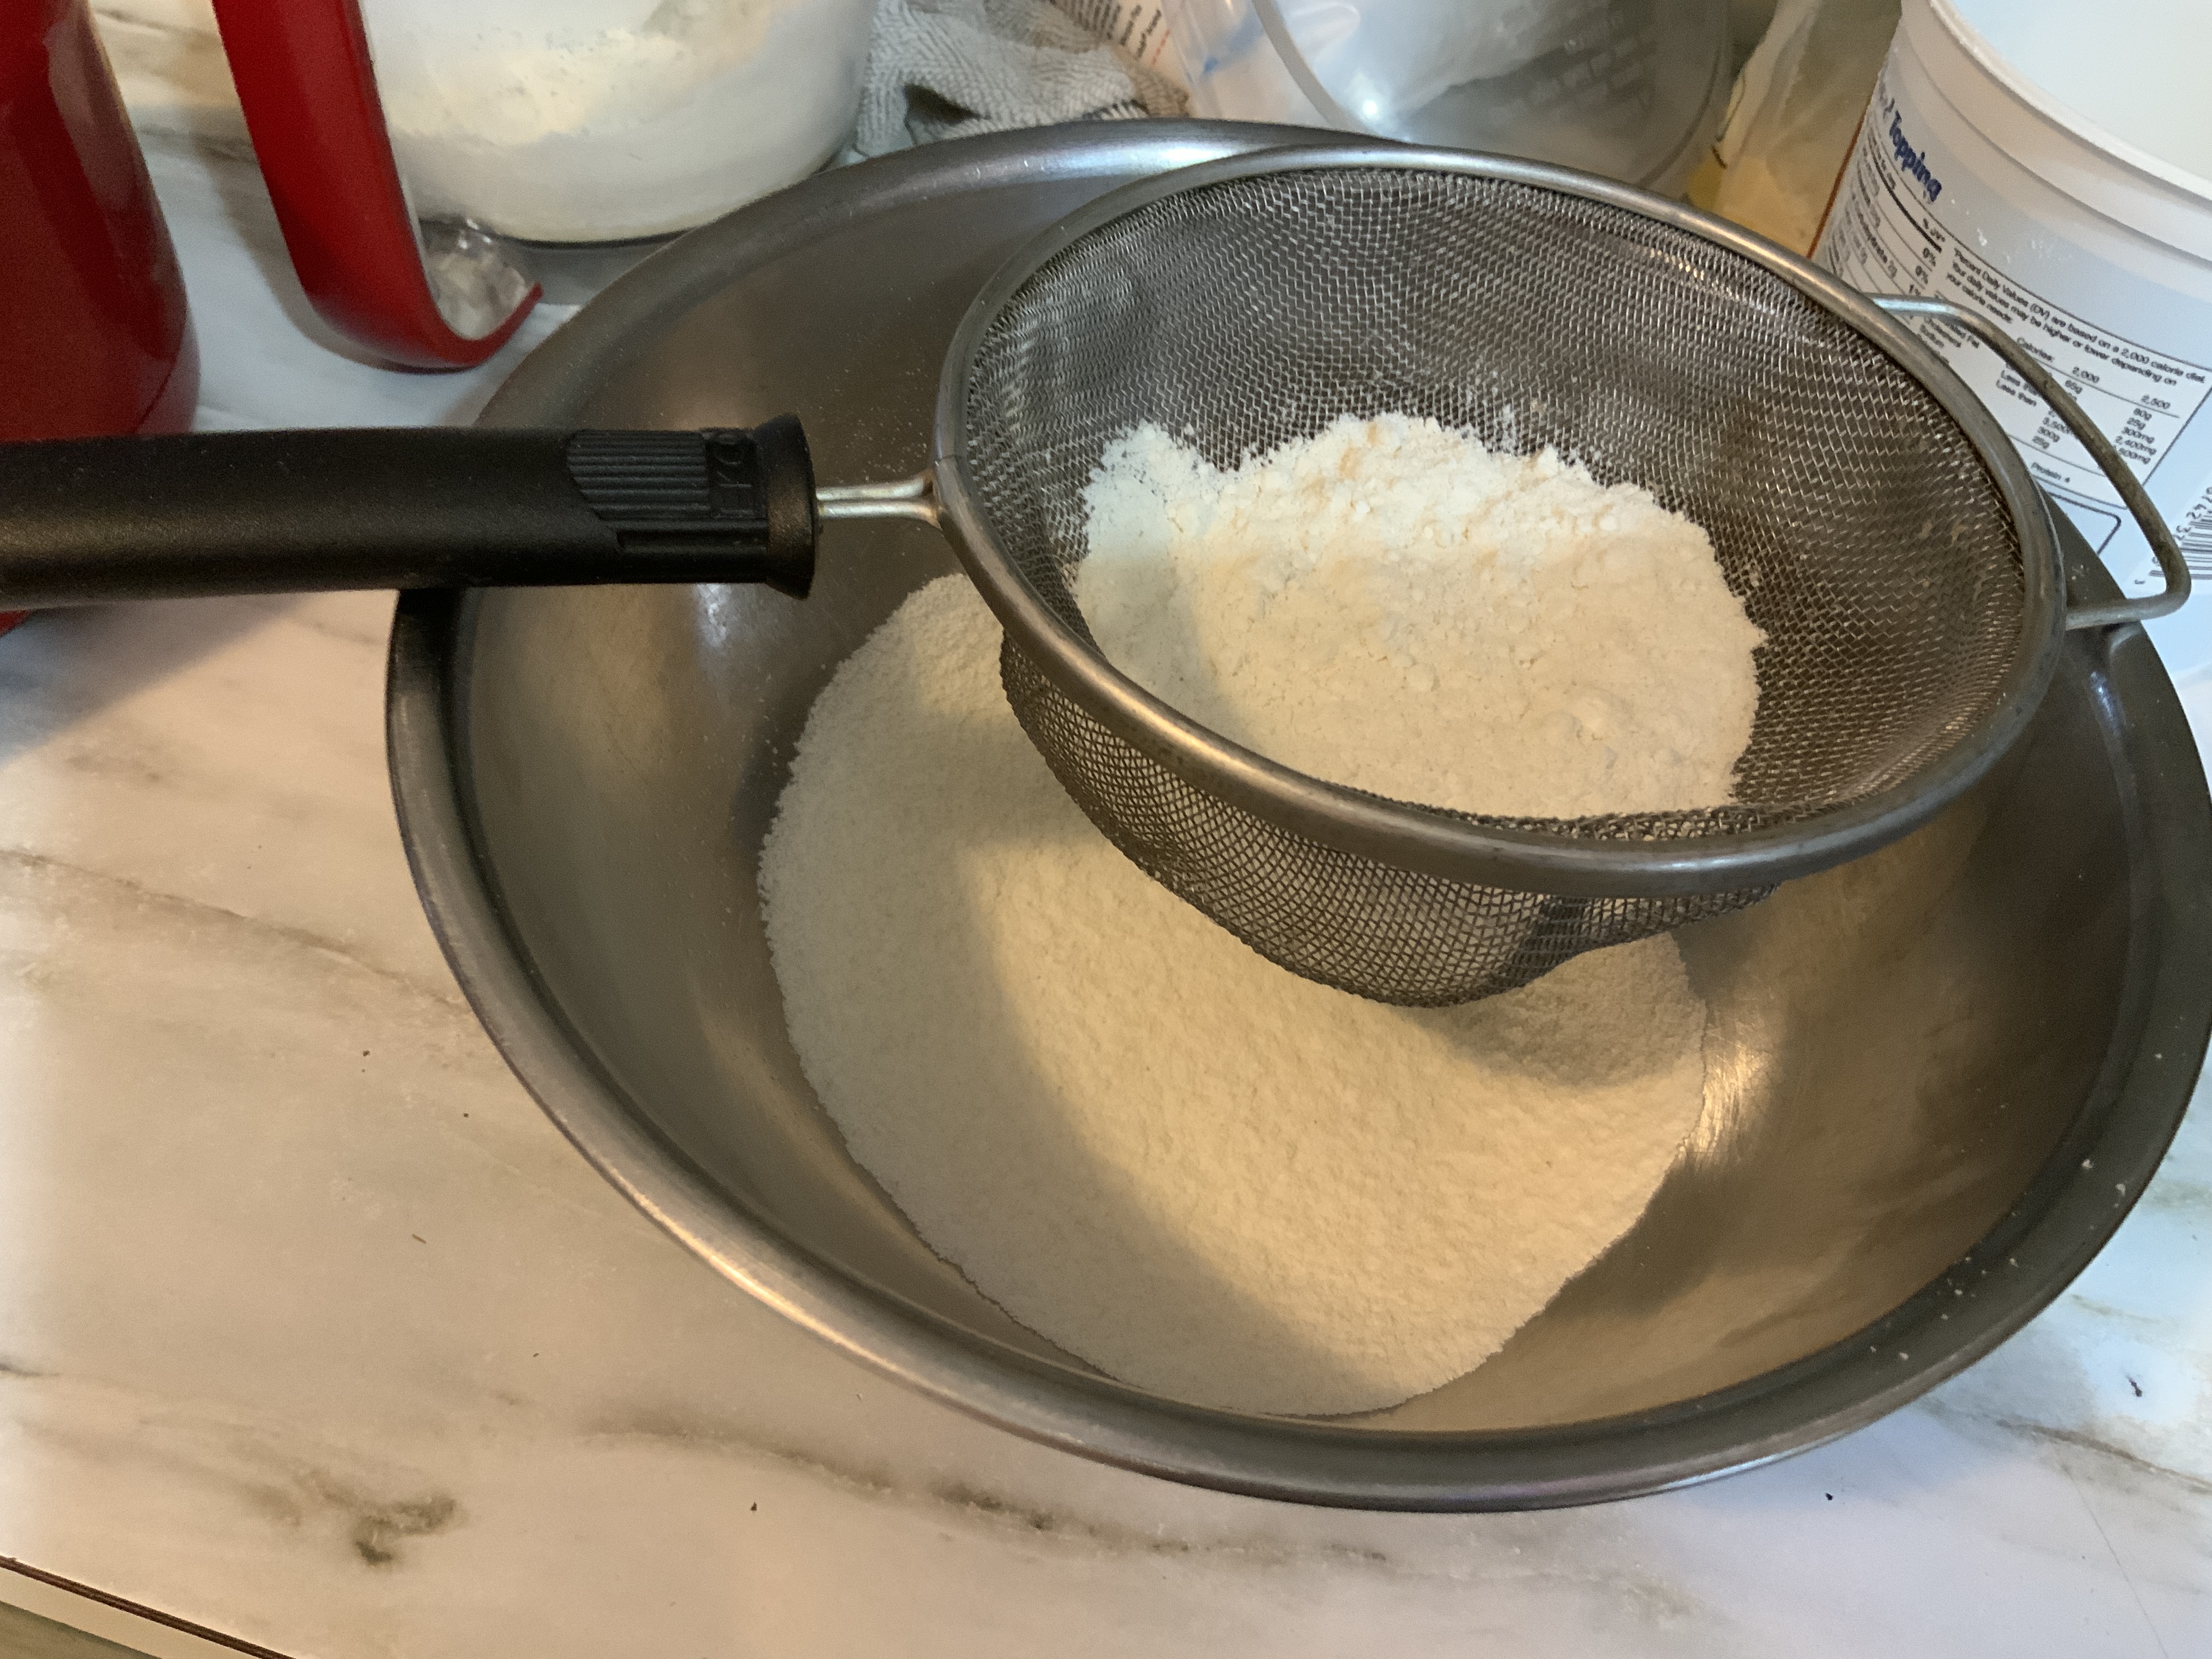
Step 3: Weigh out 170g of icing (powdered) sugar, 160g of ground almonds (I buy almond flour for this). Pulse the 2 together in a food processor around 10 times, then sift mixture into a bowl (discarding the chunks that won’t sift). I’ve done this steps the night before and the macarons came out fine.
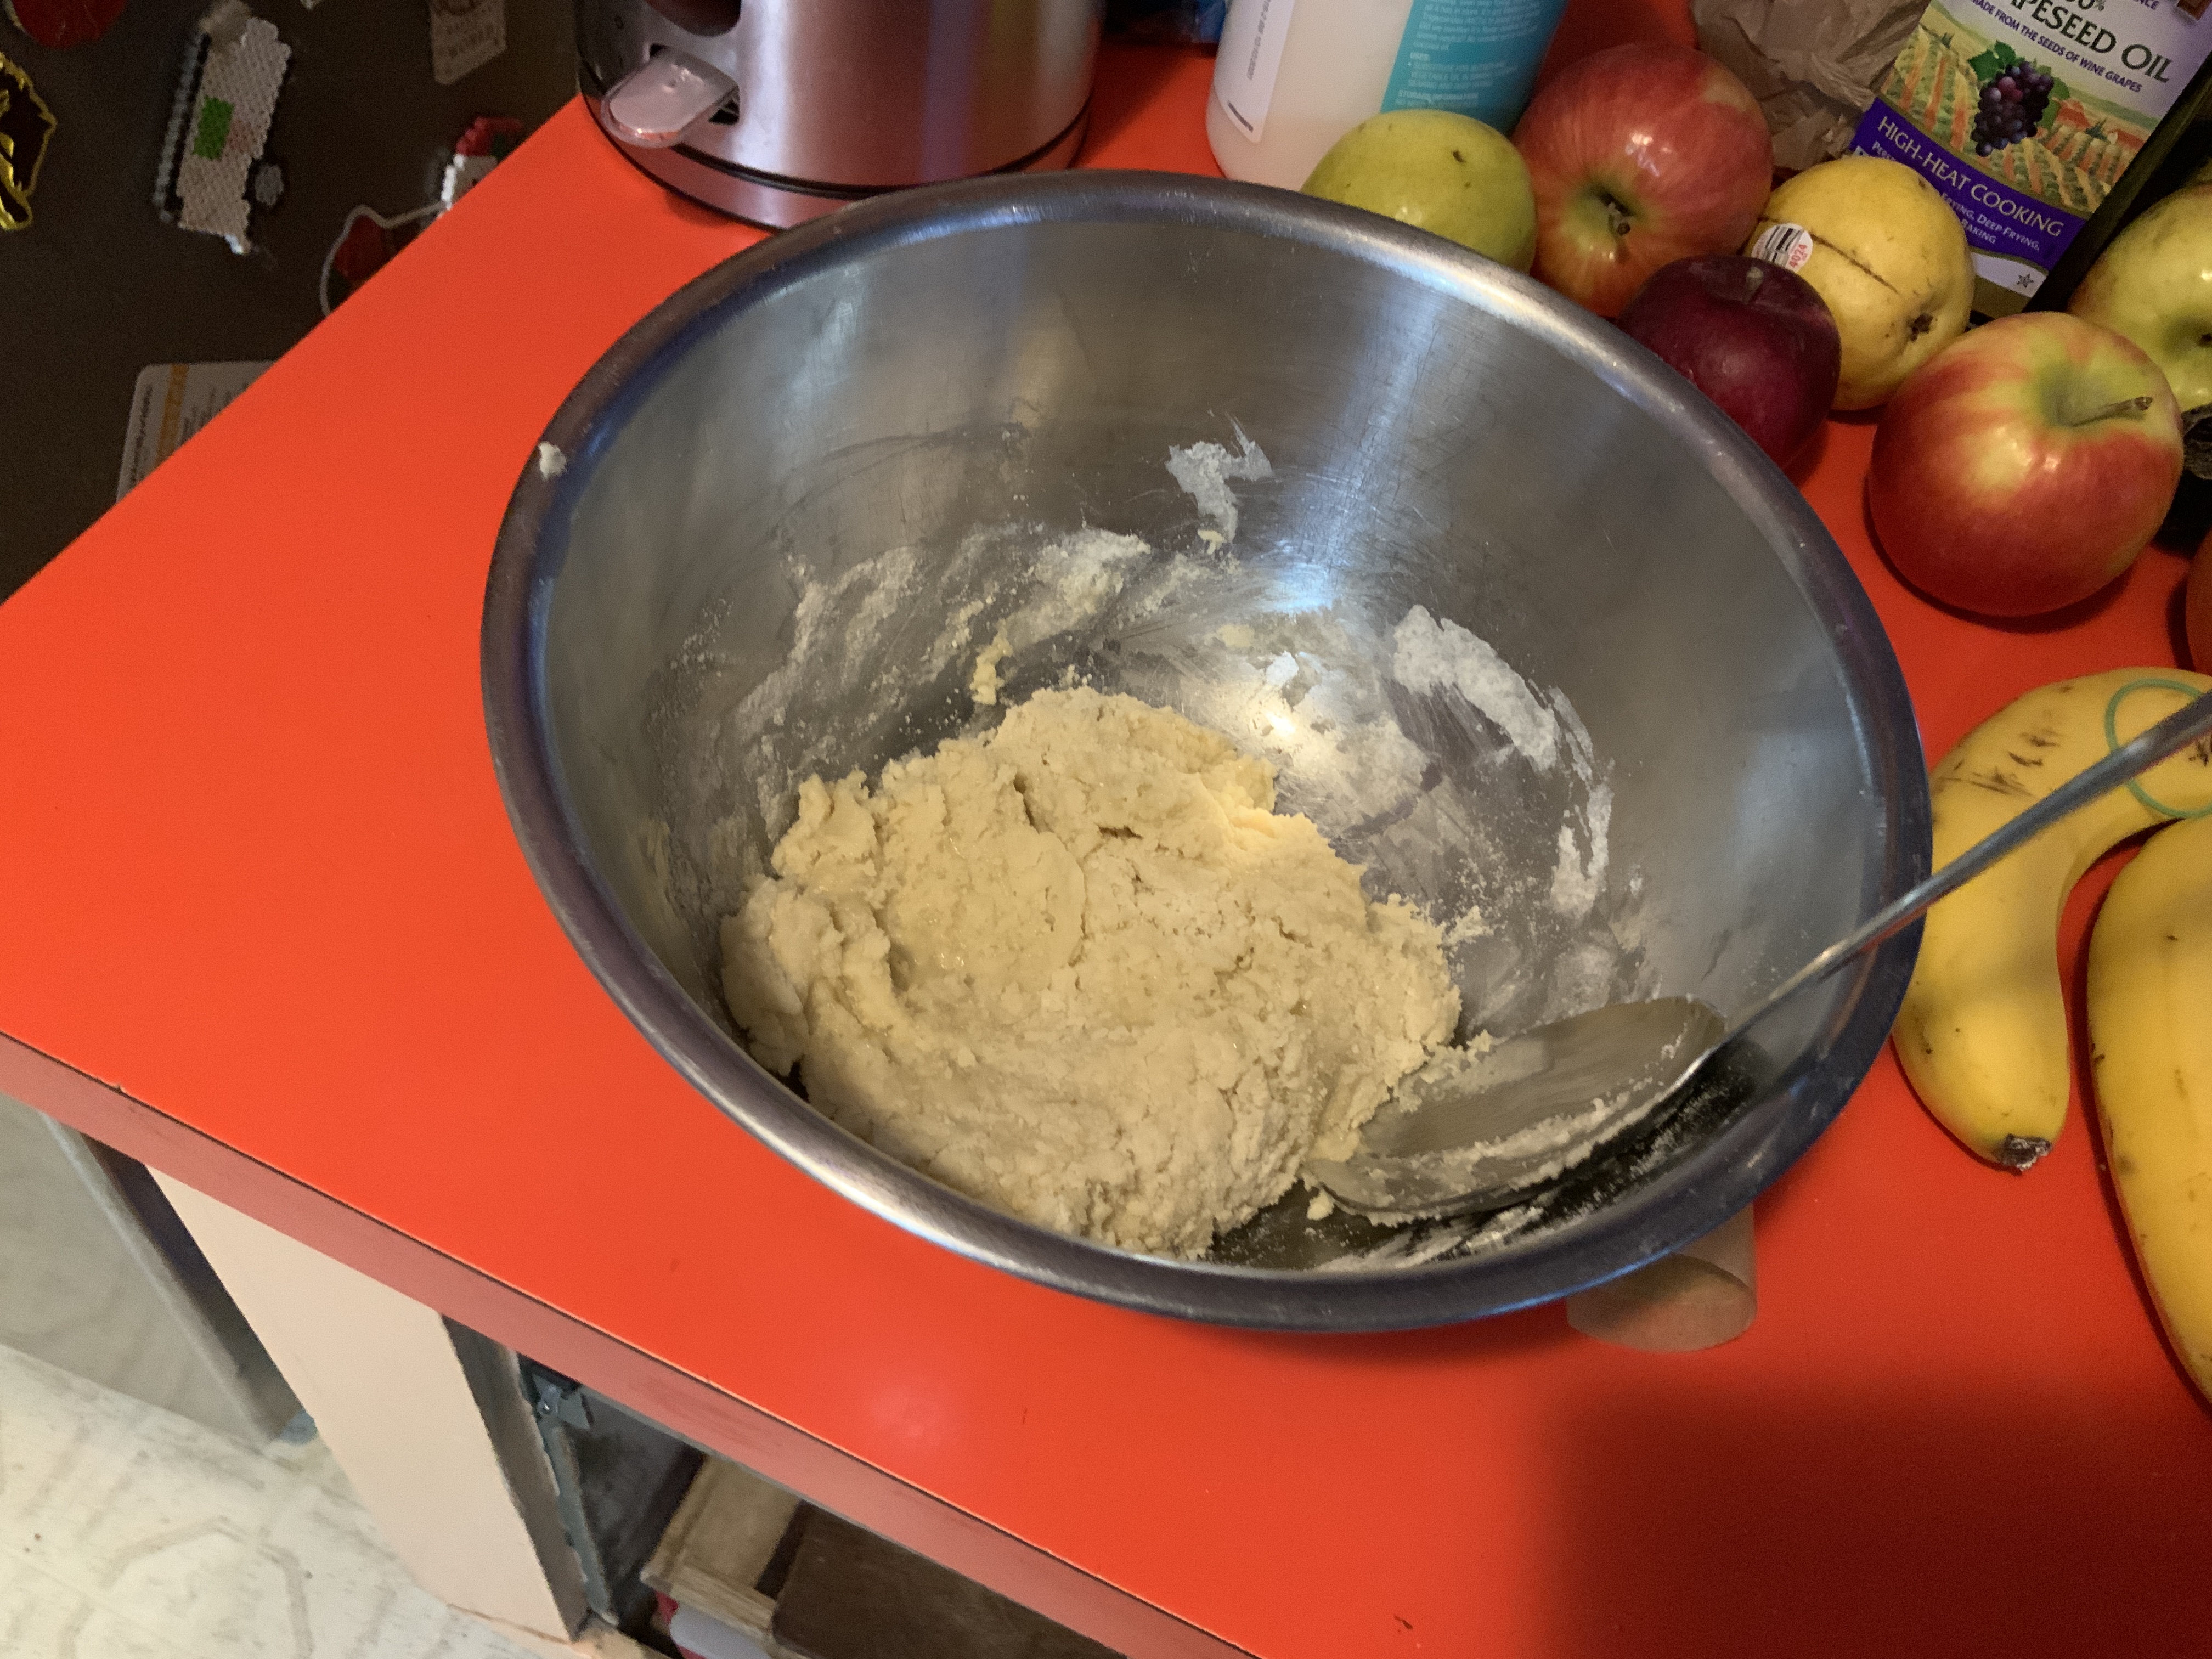
Step 5: Add half of egg mixture to almond flour/sugar mixture. Mix so it forms a thick paste and set aside.
Step 6: Put remaining eggs white into a heat tolerant mixing bowl (glass, metal, or a heat-stable plastic).
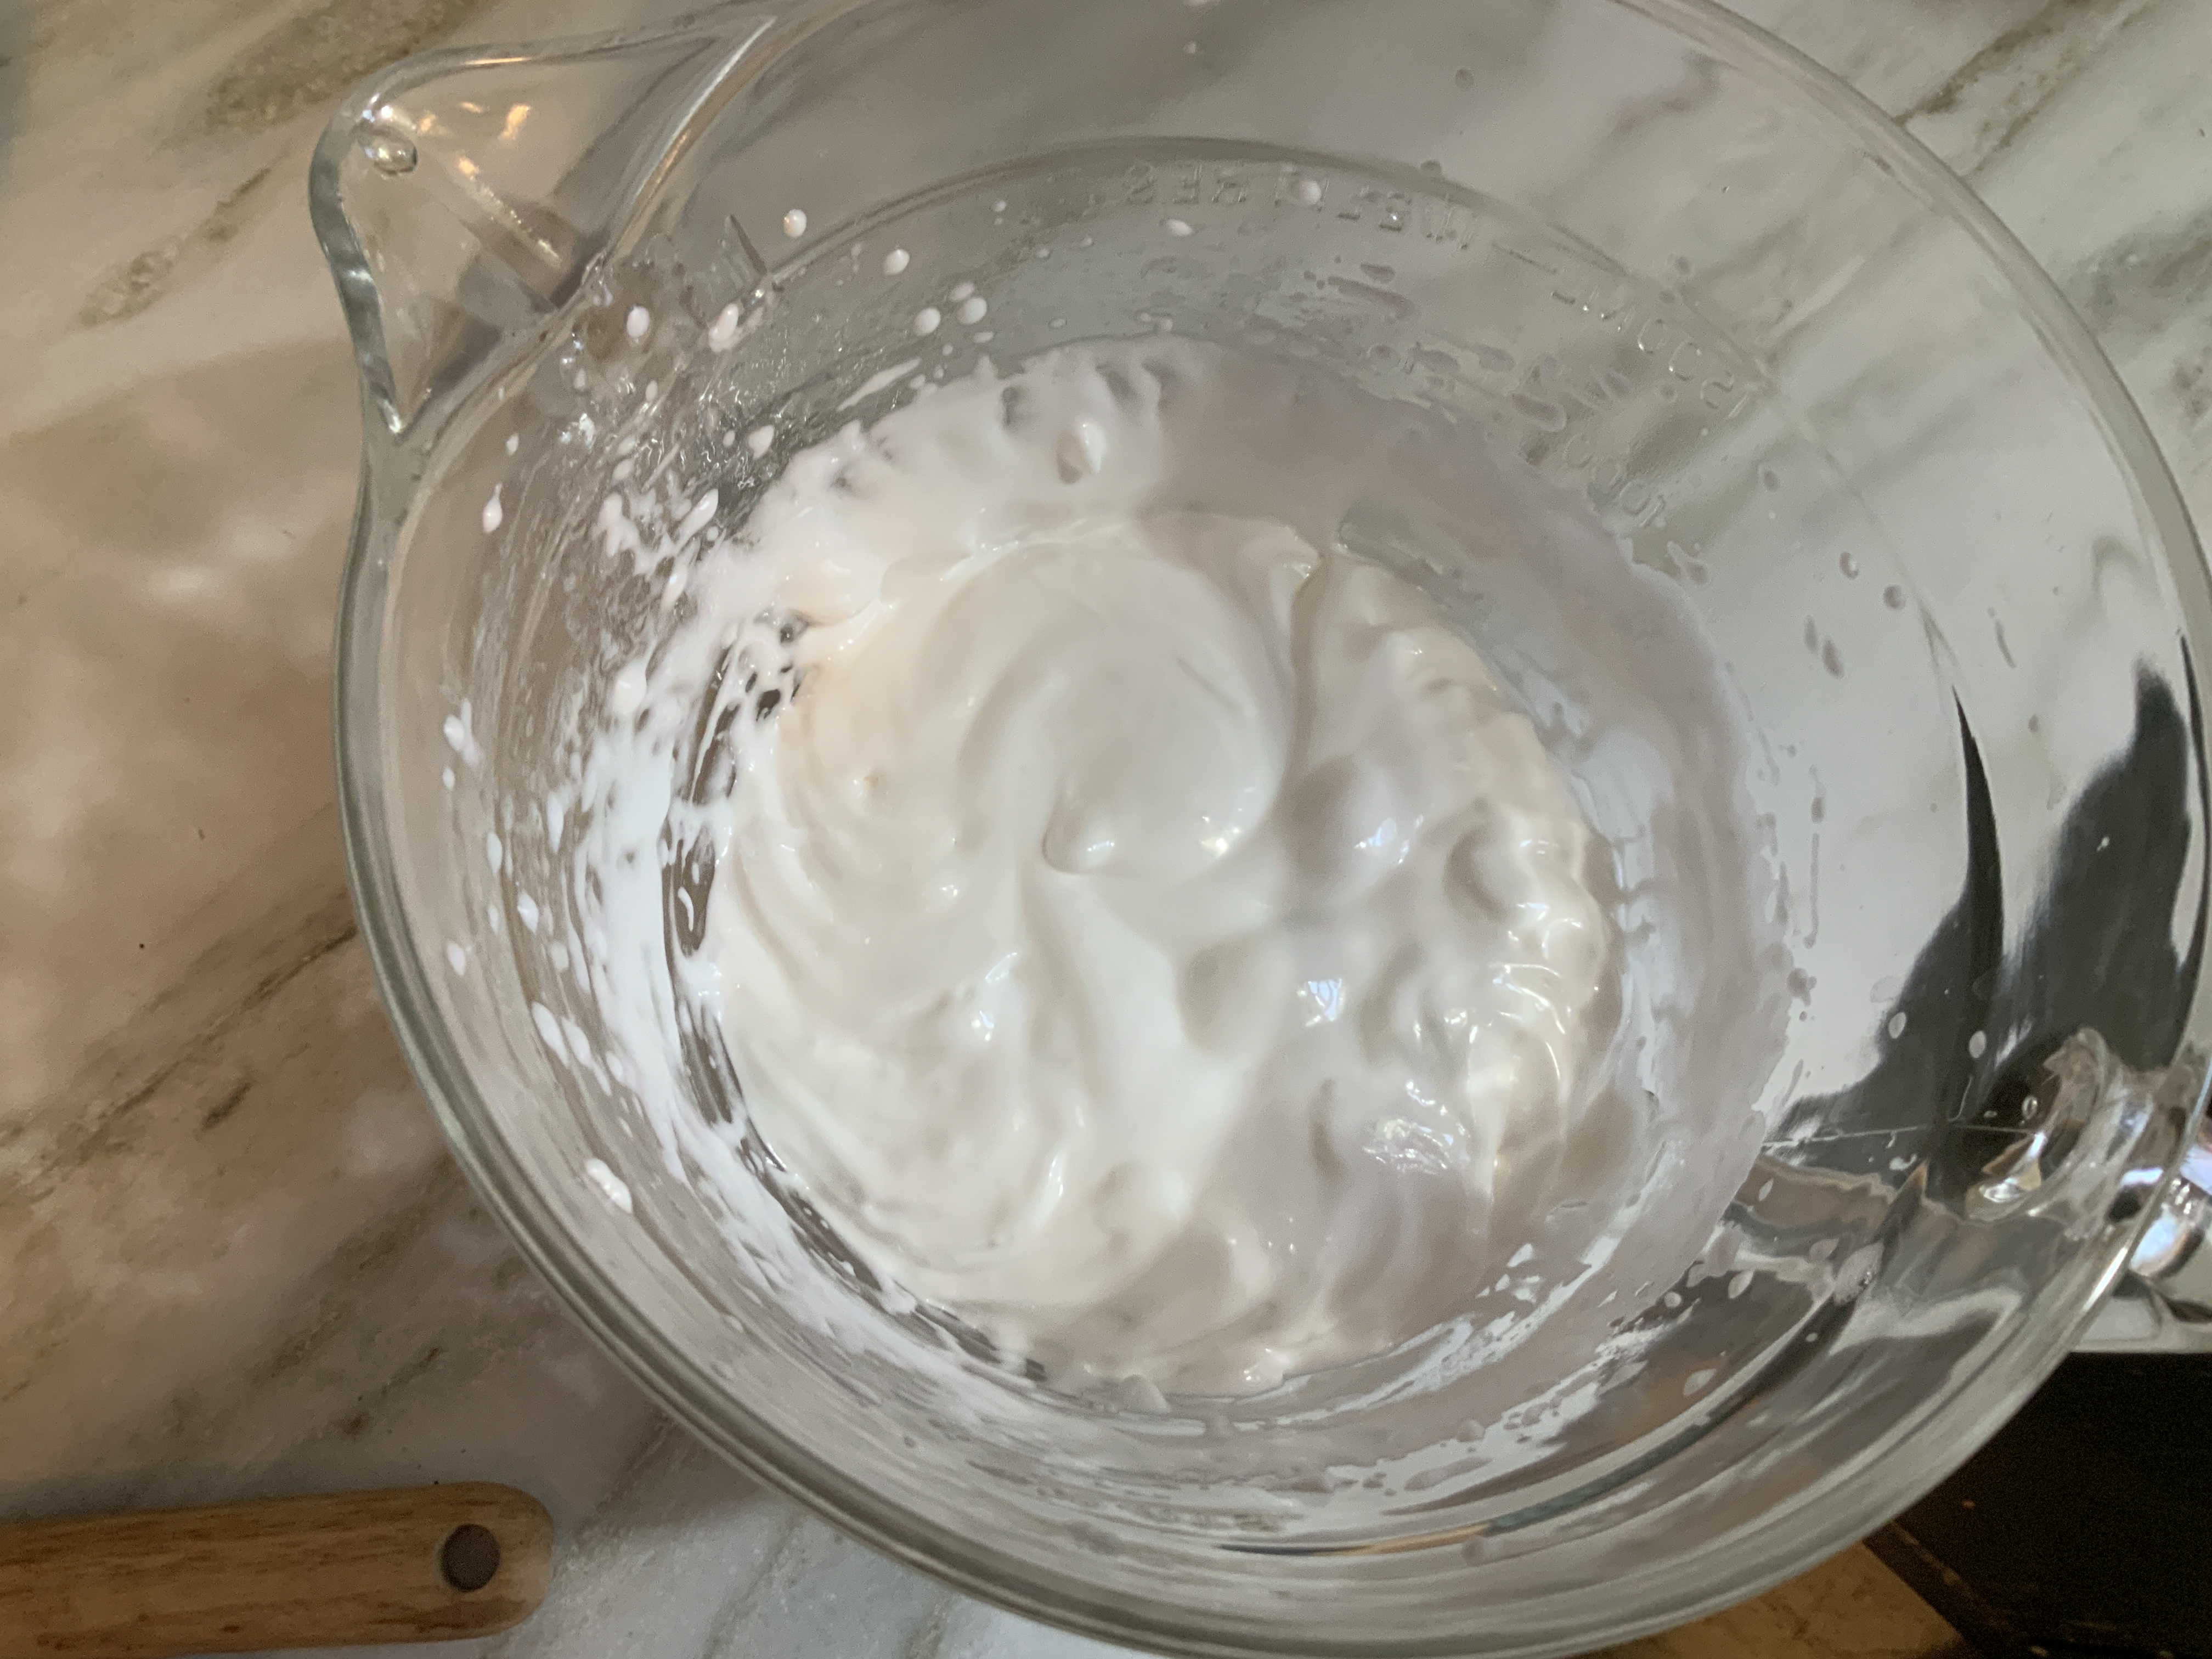
Step 7: heat 50mL of water and 160g of granulated sugar in saucepan on medium heat. Monitor temperature with a candy thermometer. When temp reach 110˚C, start beating egg whites in the heat-proof bowl with electric mixer with whisk attachment on high speed. My whisk broke and I had to use the paddle attachment, which also work well for beating eggs.

When sugar water mixture reaches 118˚C, slow add this to the eggs (pour down the side of bowl), beating them as you go. This is an Italian meringue. Keep whisking high speed until mixture is slightly cooled (the bowl is warm, but no longer hot to the touch),the meringue is shiny and firm peaks have formed.
This is a good time to add food dye (the gel type is the best for vibrant colors) and flavoring agent. It’s okay to have naturally colored (a nice off-white), unflavored macarons - they are delicious like that. If you want to add flavoring to the macaron batter, use those concentrated extracts because they will interfere the least with this recipe. If you want to add actual chocolate, or orange peel, or shredded ginger or whatever, save that for the buttercream, which is much more tolerant of major additions to the basic recipe.
Step 8: Tip this meringue into almond flour/sugar paste and slowly fold in the egg white. To do this, cut into the paste and scoop down and bring it to the top and drop it. Rotate bowl 90 degrees and repeat. This takes awhile. Be patient and don’t give into the temptation to full on mix it like cake batter or your egg white will flatten, the macarons will collapse after baking, and you will be sad. You are done folding when you can make a figure 8 in your mixing bowl with a ribbon of batter (and that ribbon quickly fades back into the batter). Here’s some decent instructions for this on YouTube .
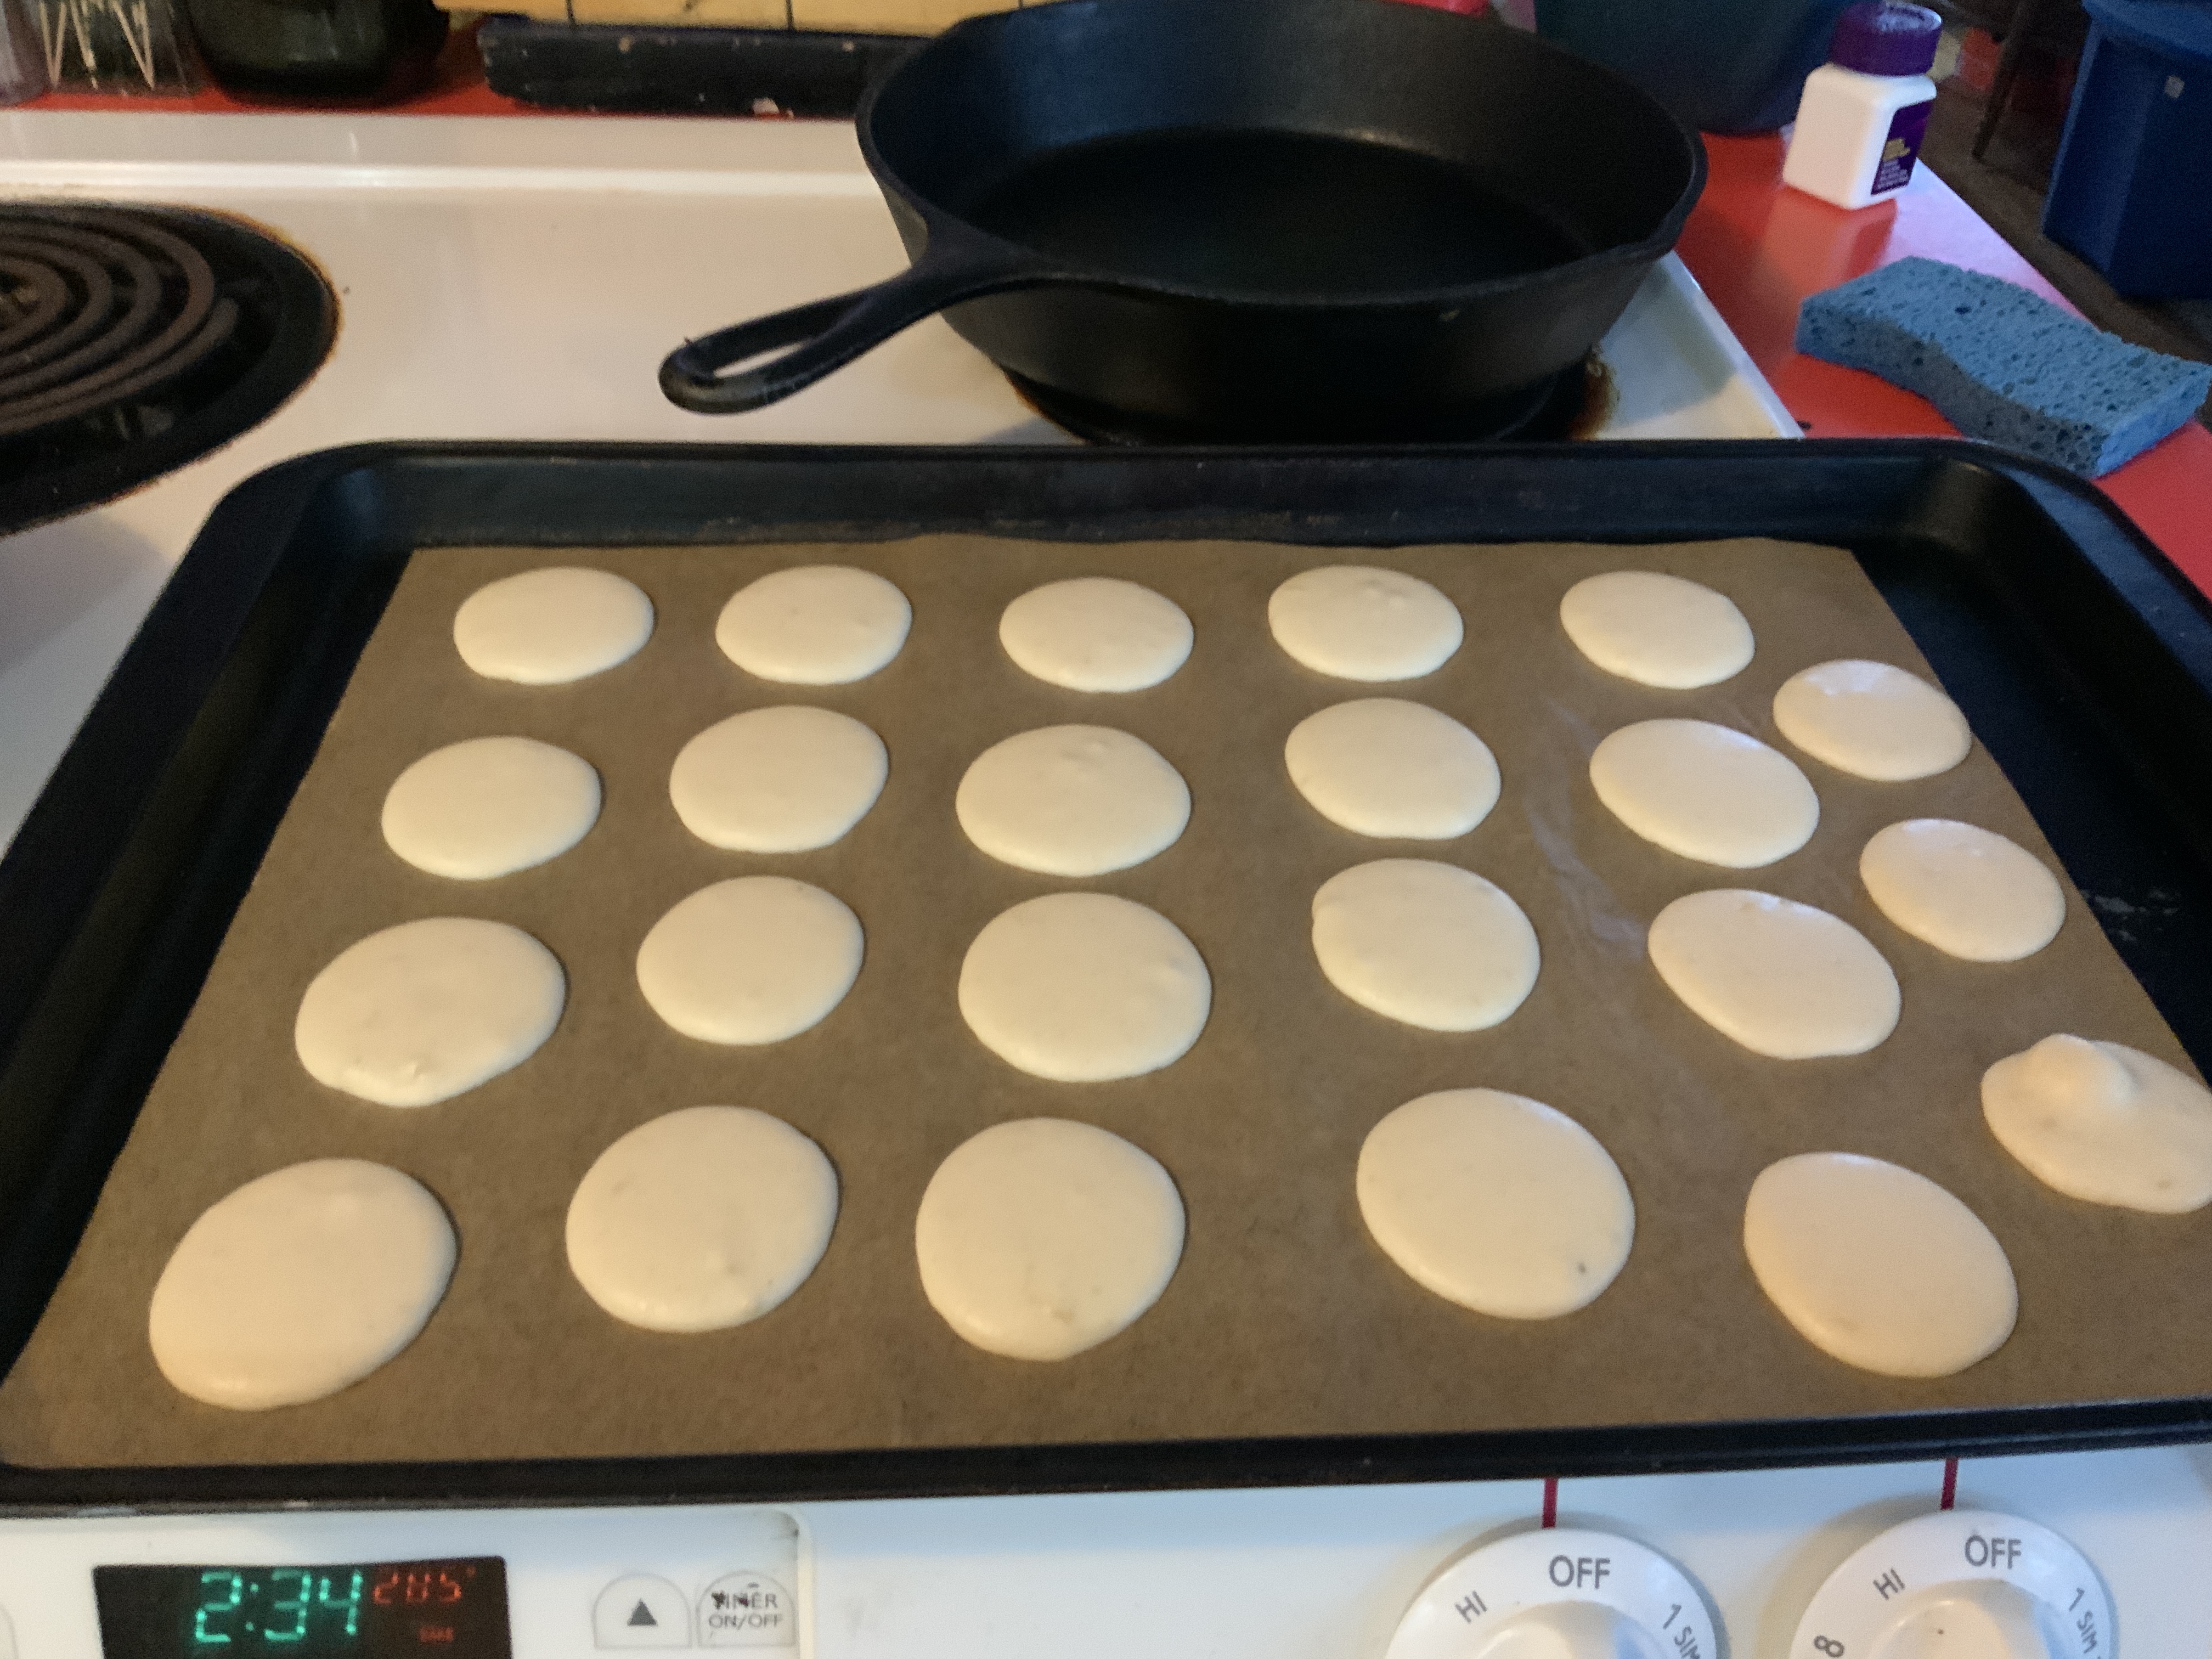
Step 9: Load mixture into a piping bag. If you’ve never done this before, it’s harder than it looks. The folks on Great British Bake Off make this look easy! Only fill the bag halfway, and try to avoid adding too much all at once because it might lead to the bag collapsing and dumping out your batter (also very sad). This is why I use a beer mug with the top folded down, ready to be filled. Once filled halfway, gently twist the top closed.
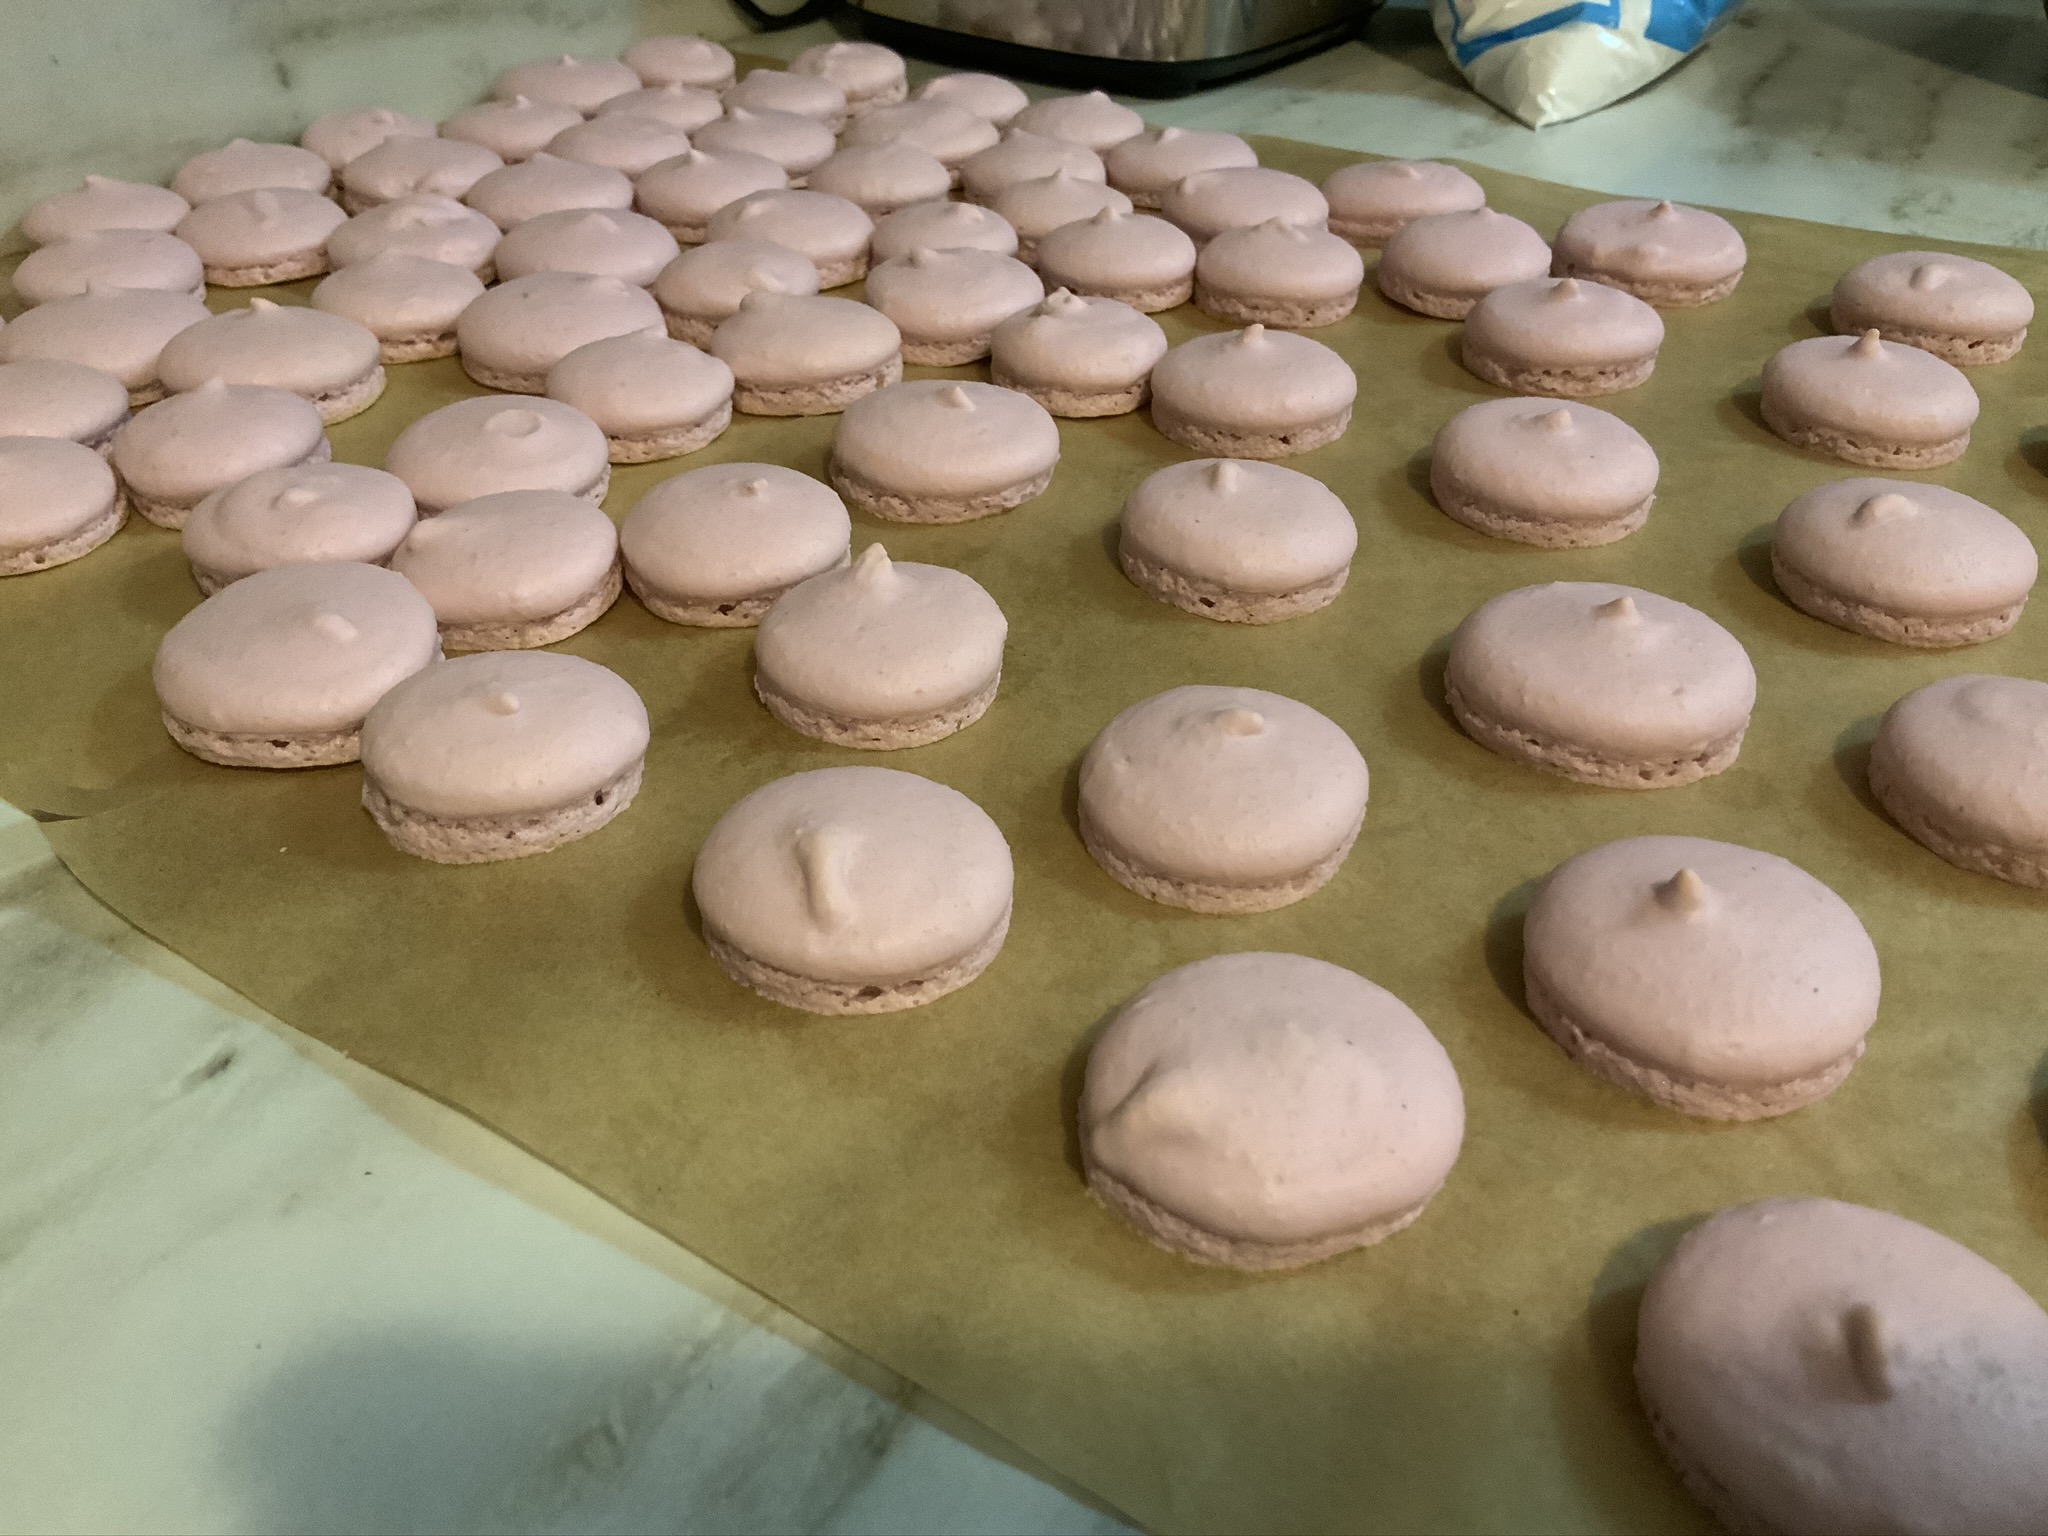
Step 10: pipe out small rounds, around 1 to 1.5 inches in diameter, 2 to 2.5 inches apart on parchment prepped baking trays. You’ll have to work quickly. Bang the trays once fully piped to remove air bubble and press down the tips of each macaron, if they have tips.
Step 11: Let dry for 45 - 60 minutes until a “skin” has formed (you can touch it and it won’t stick to you).
Step 12: Bake. This is tricky to get right as it depends on the oven, climate and probably other things. At my house, I bake at 285˚F for exactly 14 minutes. I can tell they are done when they easily peel of the parchment (try to remove the largest macaron in center of tray with your hand, don’t use a spatula). Let cool on baking tray until tray is cool enough to touch (~5 minutes) and slide off parchment w/macarons still attached onto a countertop. Allow to cool another few minutes, then they should peel off easily. If you try to peel them off while too warm, they may stick.
I reuse my parchment 1-3 times if it doesn’t become sticky during the baking.
Step 13: Make buttercream frosting (there are loads of recipes out there). It needs to be thin enough to pipe and thick enough to hold a macaron together without drooping. Pipe into one macaron. Find a similar-sized macaron and pair it so you have little colorful hamburgers! And of course, don’t attempt to pipe frosting onto a warm macaron - it will melt and make a mess.

Final Thoughts
This whole process takes close to 4 hours, although there is considerable downtime after piping the macaron batter. Some people say macarons should sit a day before consuming to taste optimal. I have not observed this to be true. Macarons taste delicious as soon as they are cool enough to eat. They seem to keep fresh just fine in the fridge for at least 5 days.